Pocket Fiction setup

I’ve gone up in the world as far as podcasting is concerned; I’ve made my own recording studio. It’s not much, but it didn’t cost me much either. Most importantly, the quality of the recordings I’ve made has gone up, to the point where I’m wondering if I want to re-record the last couple of poor-quality episodes. Here’s a couple of photos of my set-up:
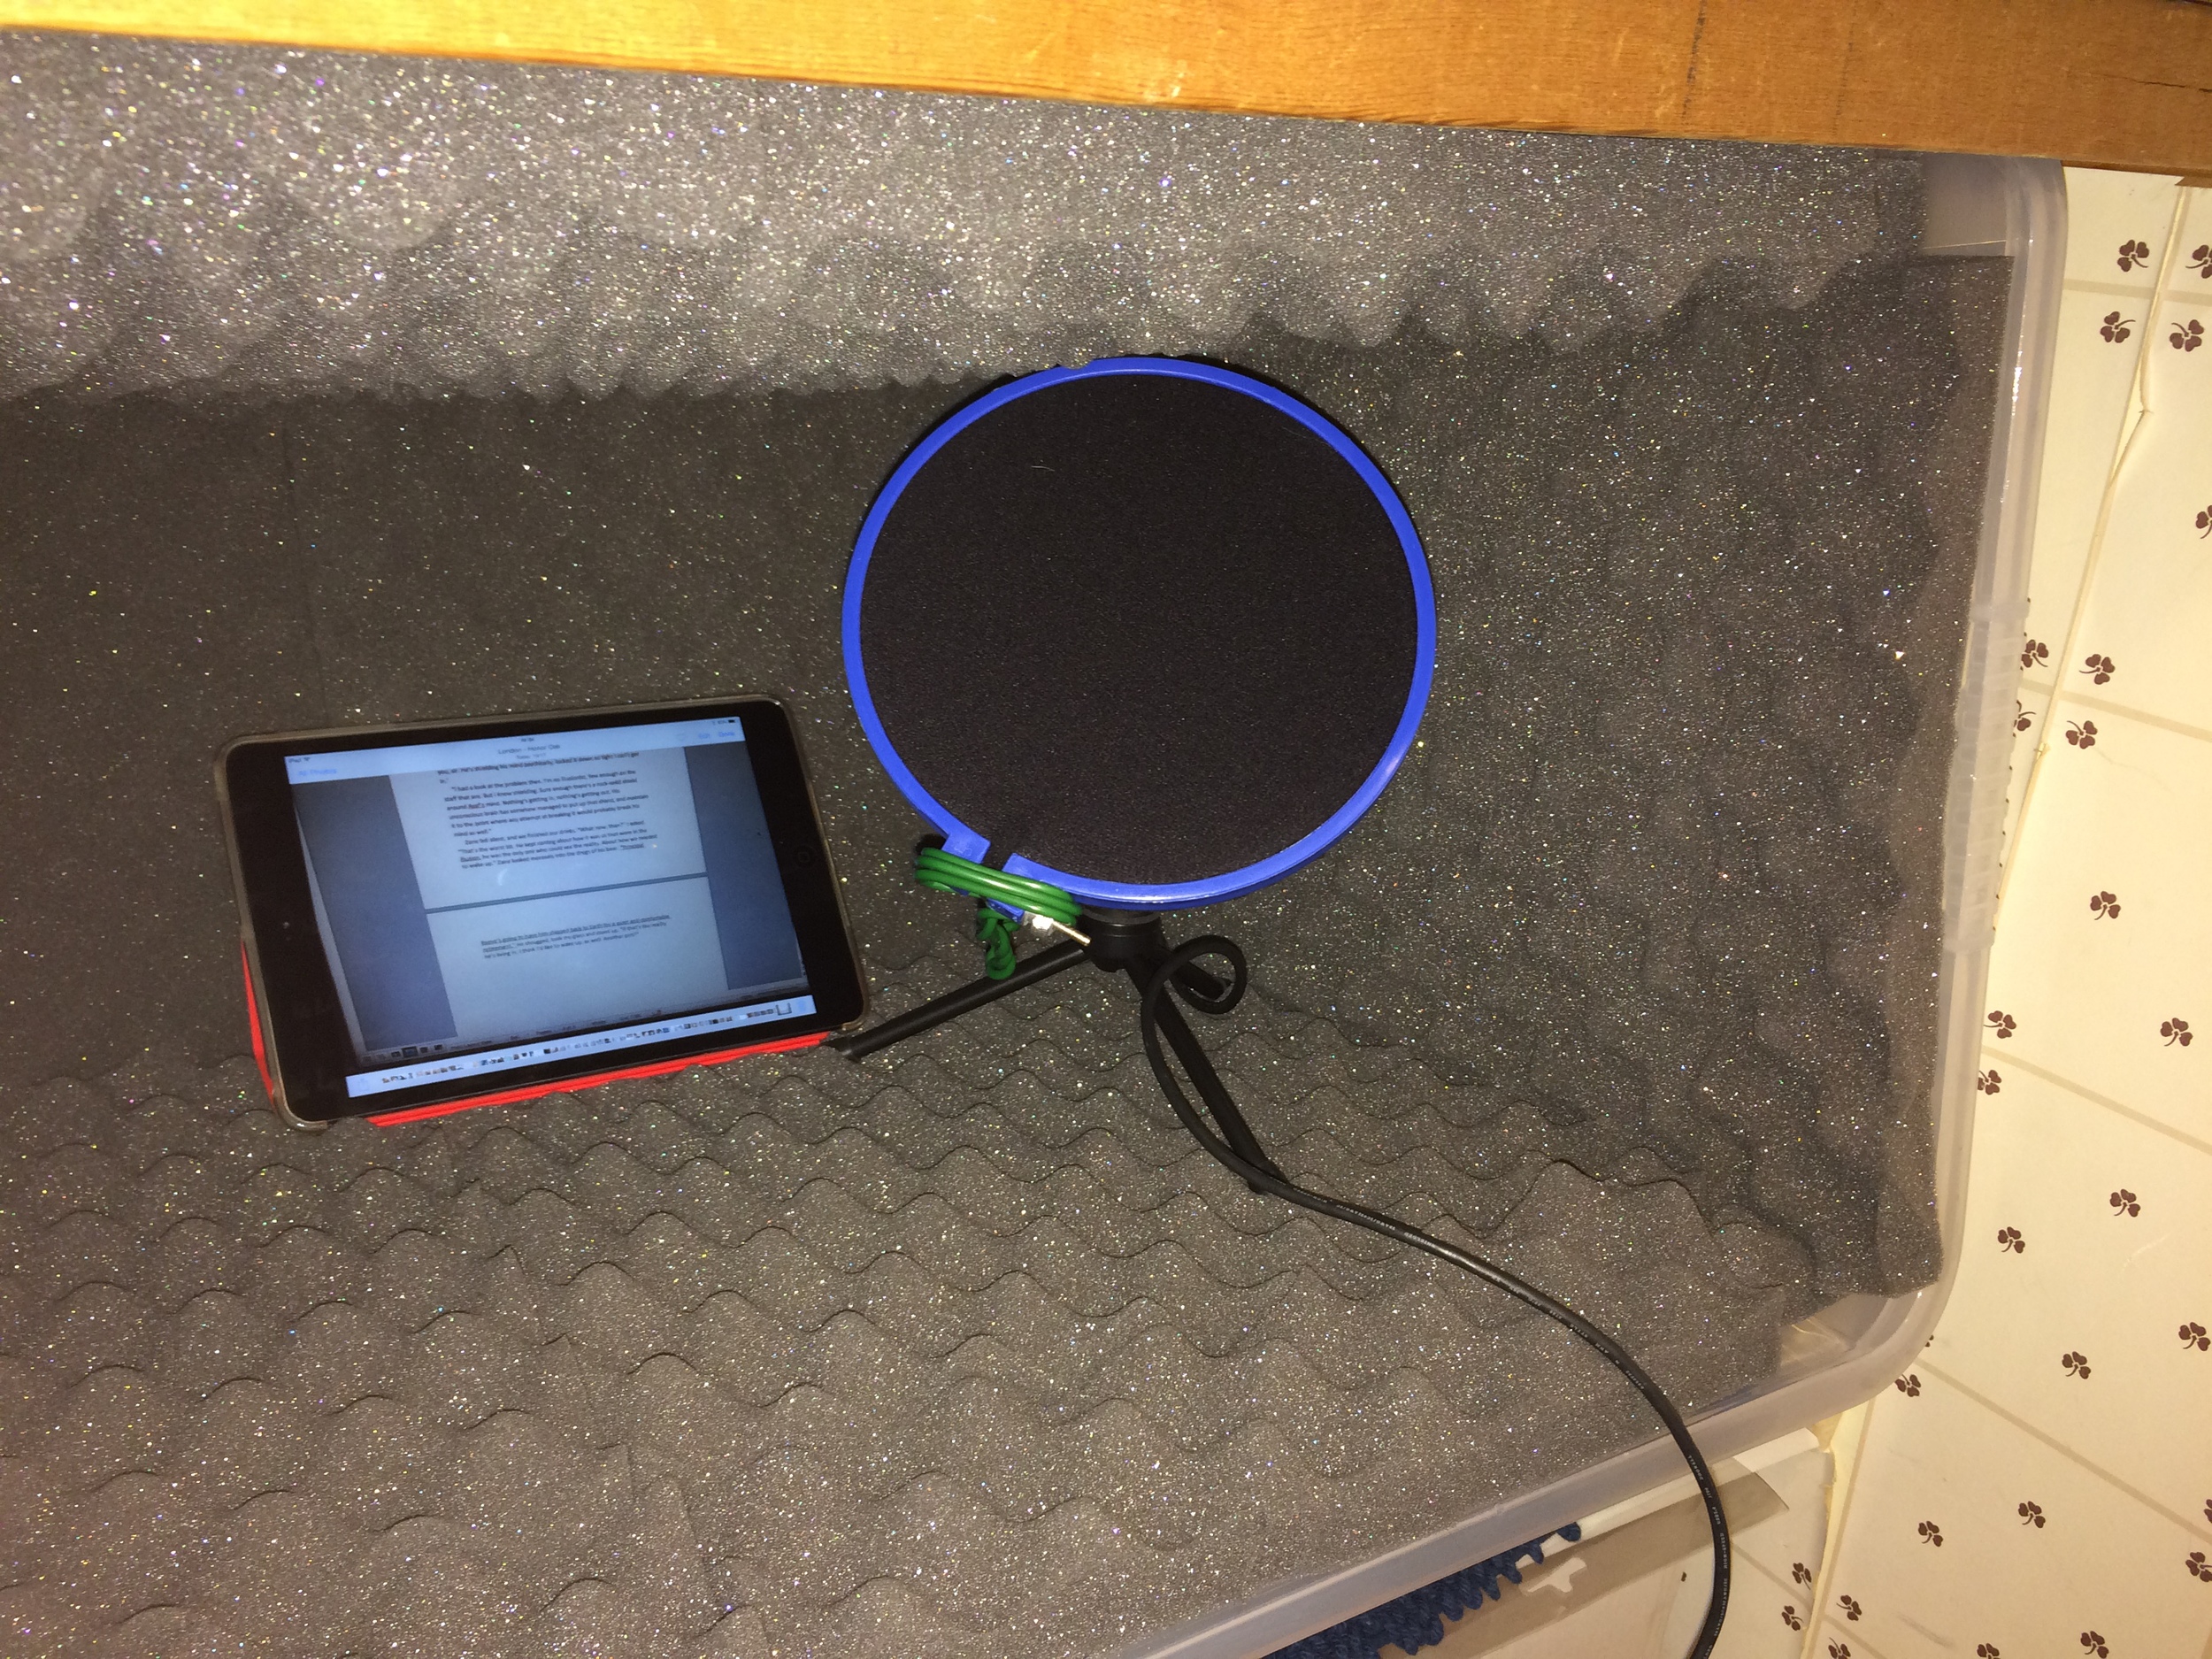
The mic is a Samsung Q2U, with my wife's iPad mini.
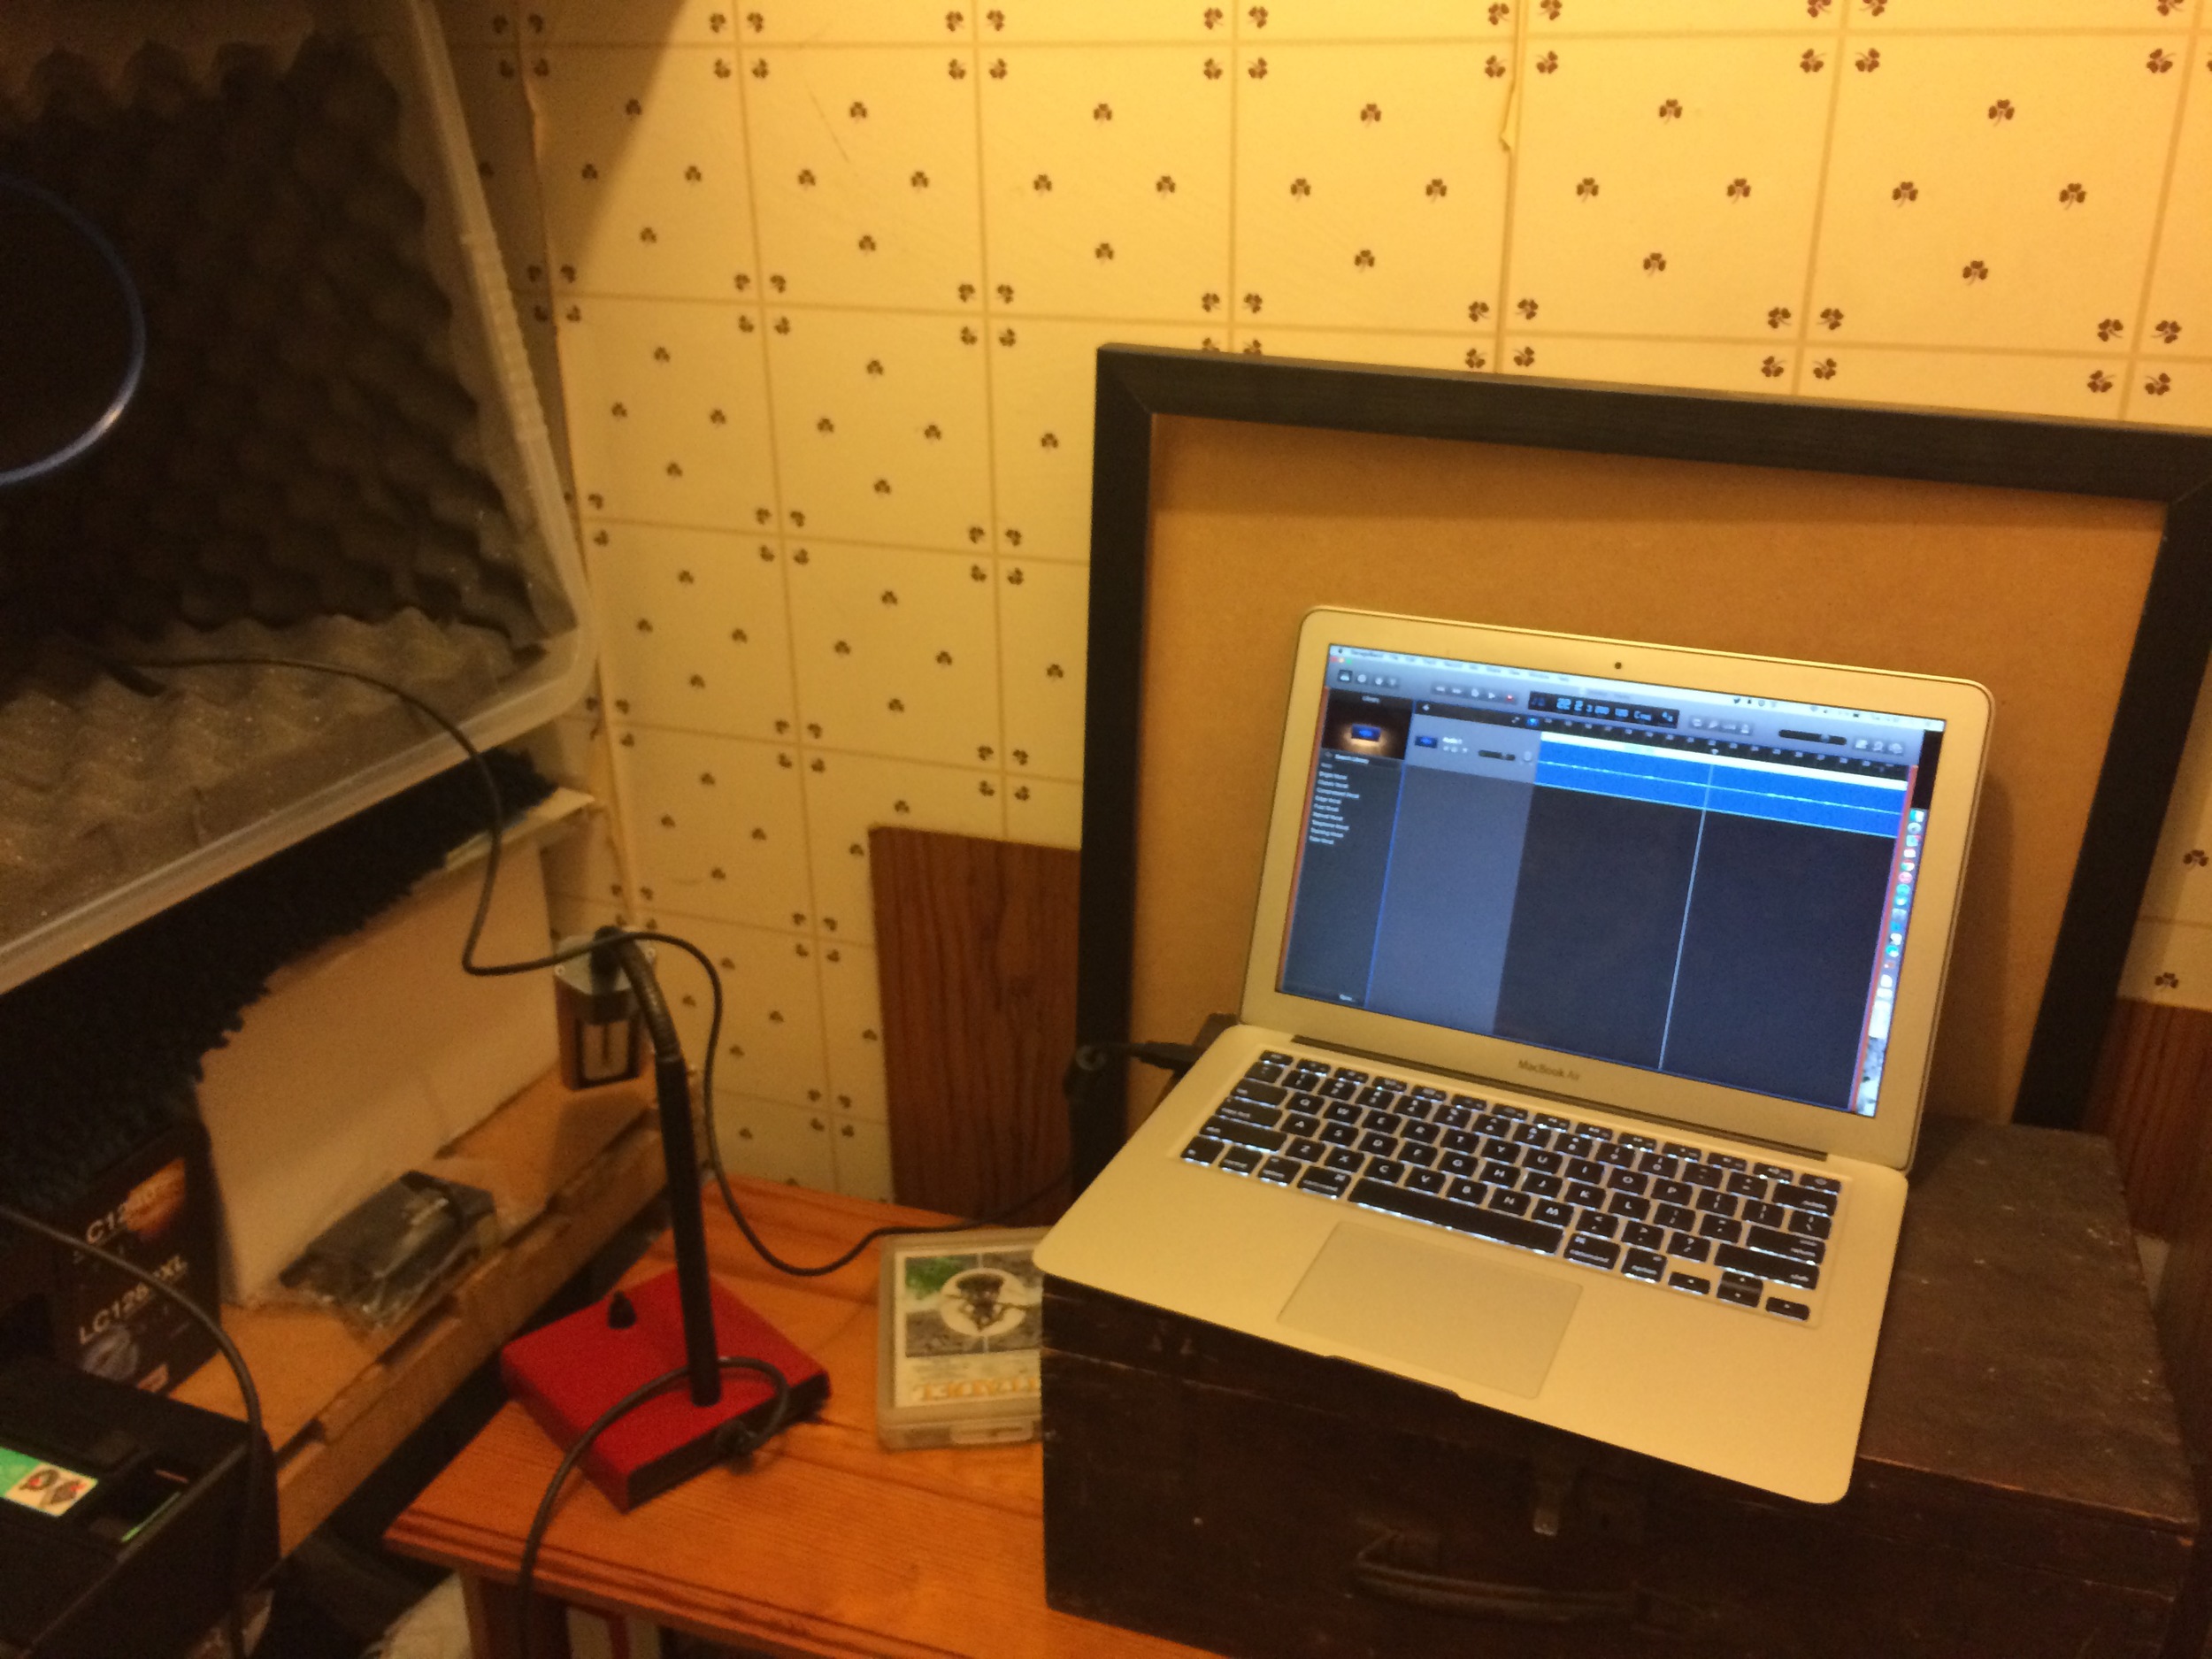
Bonus horrible wallpaper and Citadel Miniatures basing kit here!
With the box lined, I put my microphone in one corner, leaving plenty of room for whatever else I needed. My laptop does fit in there, but it’s much easier to leave it out on the side. Instead, I take my wife’s iPad in there. If I transfer whatever I’m reading onto it, I have a backlit screen behind the microphone that I can read from.
The last bit of physical kit was a pop-guard. By far the most irritating thing was editing out all the plosive sounds – p sounds that ‘pop’ in the recording. I looked online; they were about £3, and I nearly bought one. Then I came across a tutorial that demonstrated how to make my own, pointing out that the part most likely to wear out (the material, not the ring) can’t be replaced on one that you buy. So £3 might be good for six months, but then it’s another £3, and then another. Instead, I used a cross-stitch hoop, a £1 pair of tights, a £1 jubilee clip and a length of stiff wire to make my own pop-guard. It works like a dream. No more plosives!
The ‘studio’ itself is a nice little walk-in cupboard we’ve got under the stairs. I’ve cleared it to the point where I can stand in it. The printer lives there, among a hundred other things, and on top of that is my recording booth.
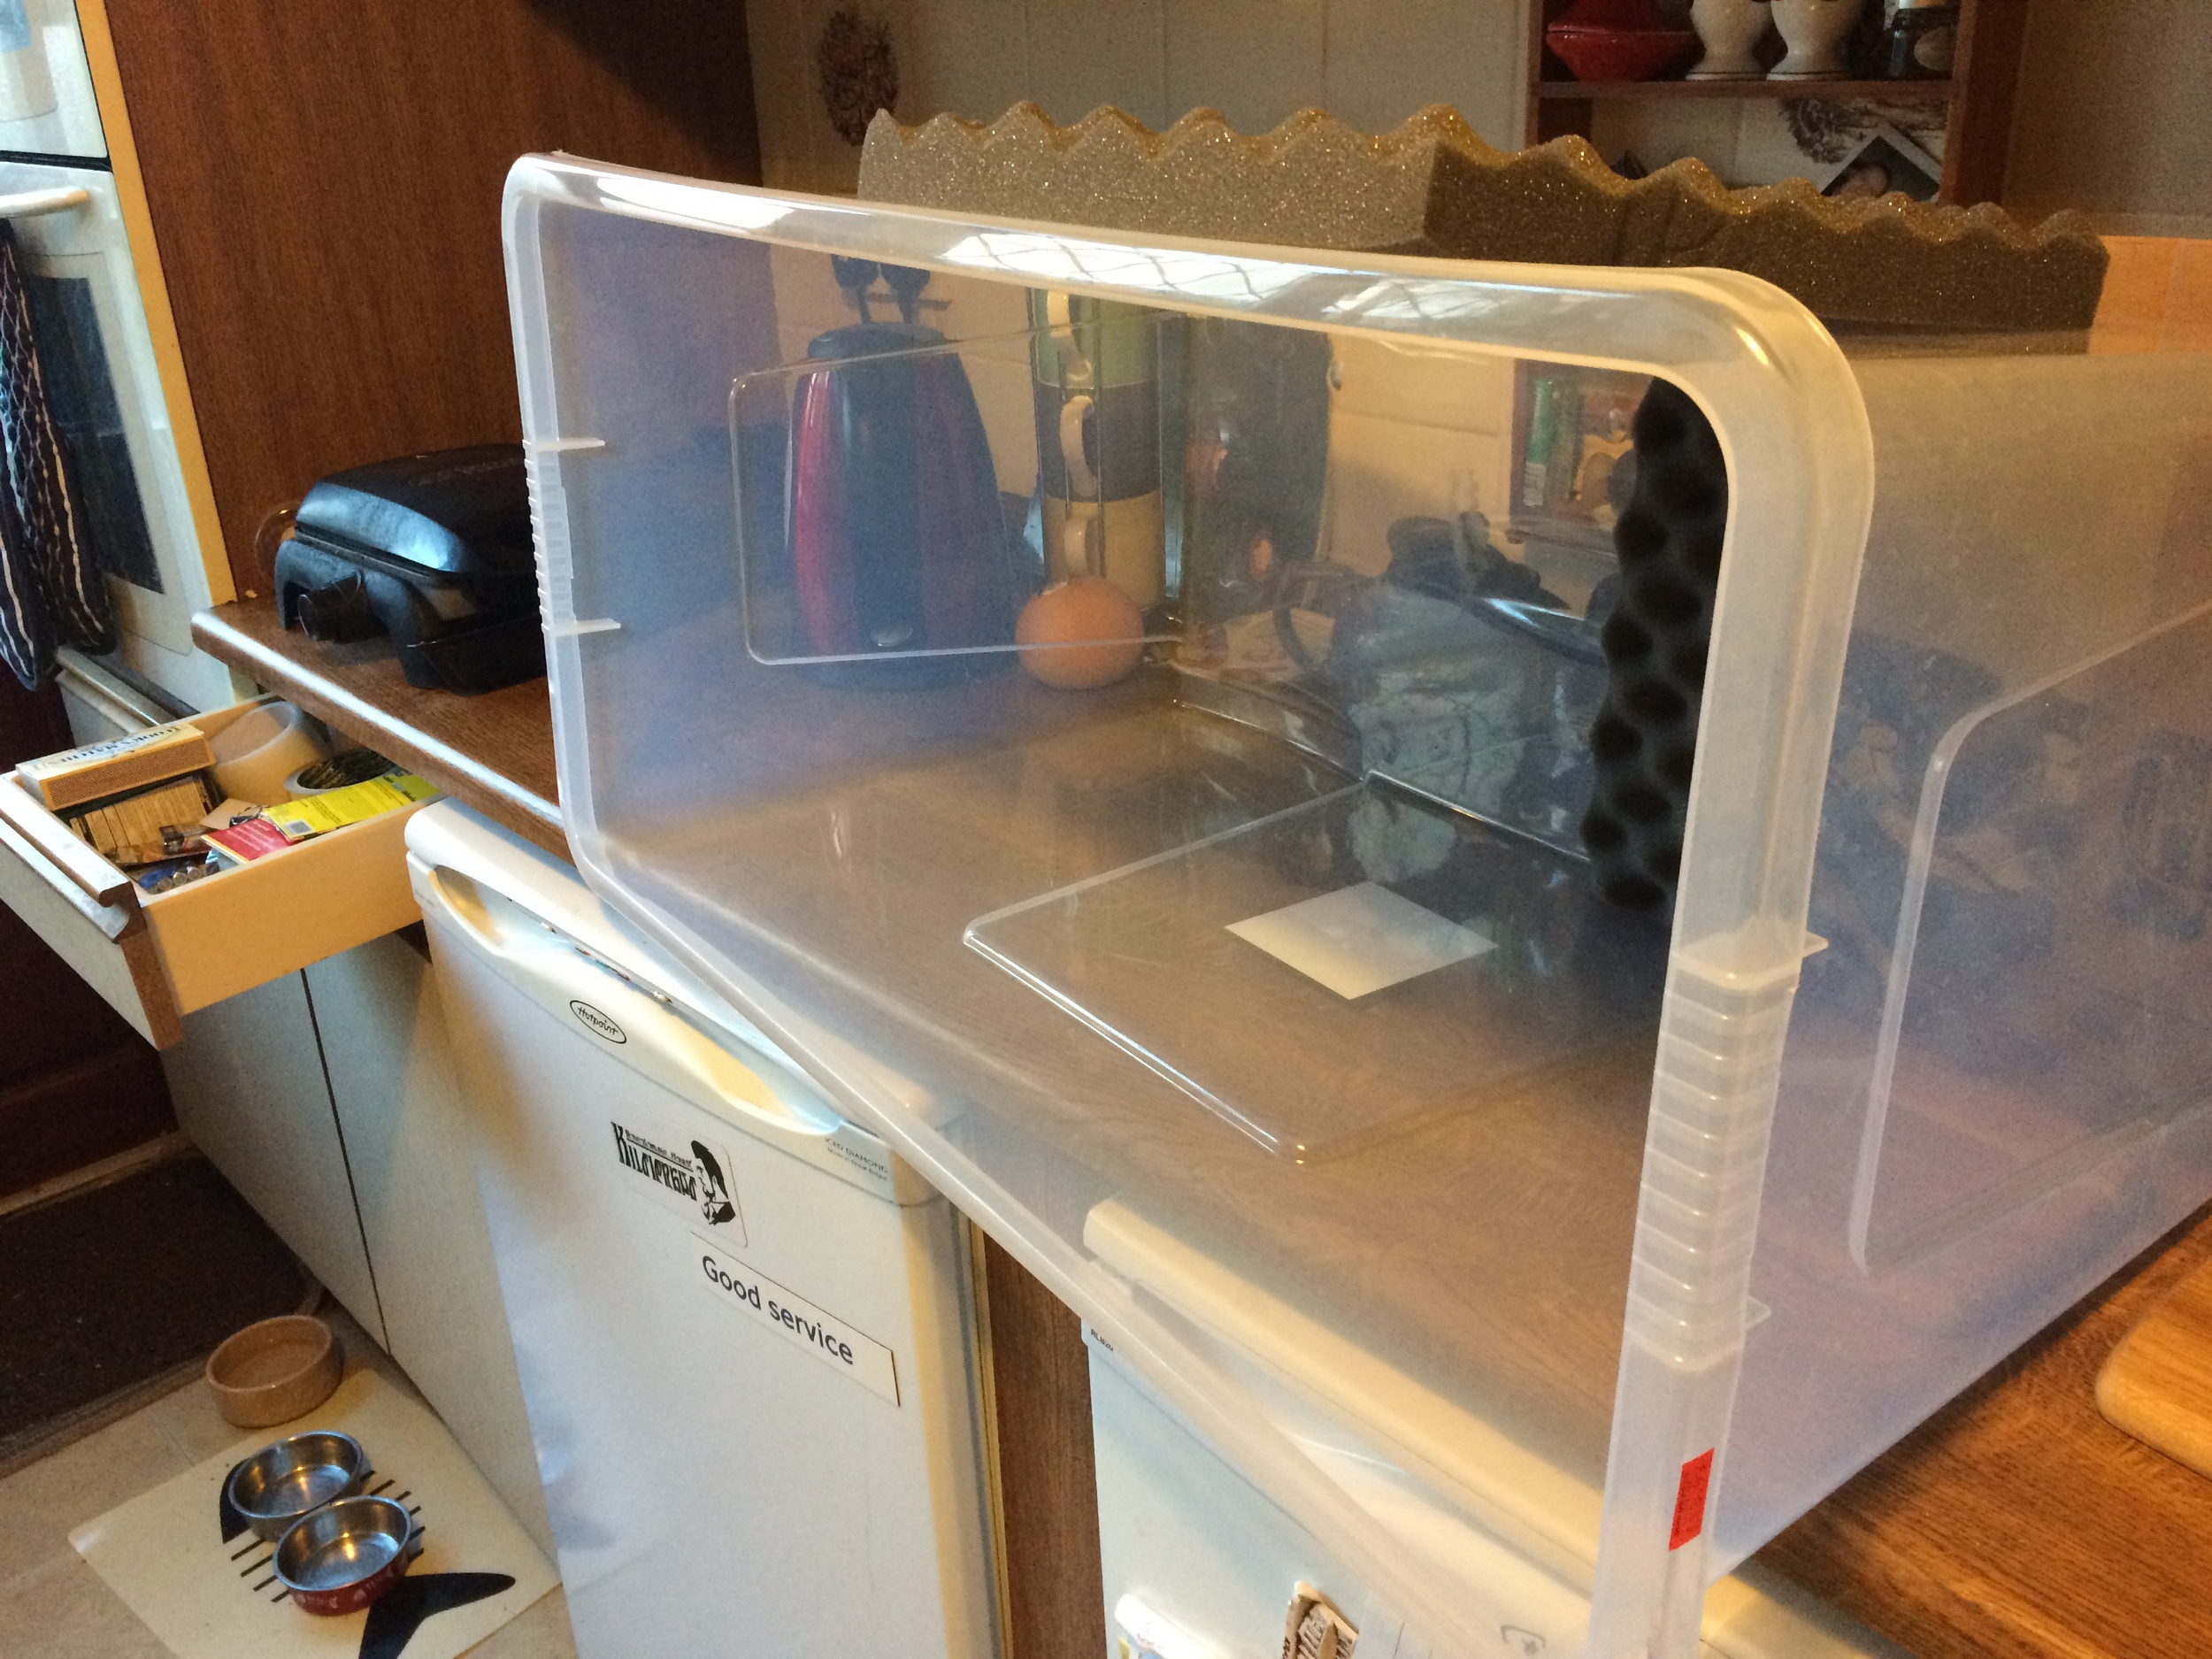
I started with a box – I got lucky, and found one that exactly fitted the measurements of the space.
I bought 10 squares of sound-proofing foam from eBay. I spent a while comparing the different sorts, but I couldn’t find any definitive proof that, at the standard I’m working to, a more expensive foam would yield a better result. I wasted a fair amount of time sticking it in with tape, then super glue, before finally shelling out £14 for a can of spray-adhesive. In a side note, there is a lumber shop in Brockley that sells everything. Like, everything you could ever want. Ever.

The foam is easy to cut, and it's glued down with adhesive spray.
Software was next. I’m blessed that I’ve got a Mac here, really, as the second-to-most-recent version of GarageBand includes a Podcast template. I’ve got some fiddling to do to ensure that it sounds the best it can, but that’s a good place to start.
And that’s it! I’ve had the microphone for over six months now, and that was by far the most expensive piece, coming in at about £80. The box was £13, the foam was £6, the pop-guard maybe cost around £10 or less. GarageBand is free, as is iMovie (which I use to port the podcasts to my YouTube channel.